Window capture, and the shadow problem
Press ⌘ ⇧ 4 then Space. The crosshair turns into a camera and every window highlights as you move over it. Click to capture just that window, with rounded corners and transparency preserved.
By default macOS also captures the window's drop shadow — a wide, soft, translucent halo. It looks good on a white page and terrible everywhere else, and it adds a surprising amount of empty space to the image. Hold ⌥ as you click to leave it out.
Menus and popovers that close on you
Open a dropdown, press a shortcut, and the menu closes before the capture happens. Some apps hold the menu open through ⌘ ⇧ 4, many do not, and there is no way to tell which until you try.
The reliable route is a delay:
- Press ⌘ ⇧ 5 and pick a capture mode.
- Under Options, set Timer to 5 or 10 seconds.
- Click Capture, then open your menu and hold it open until the shutter fires.
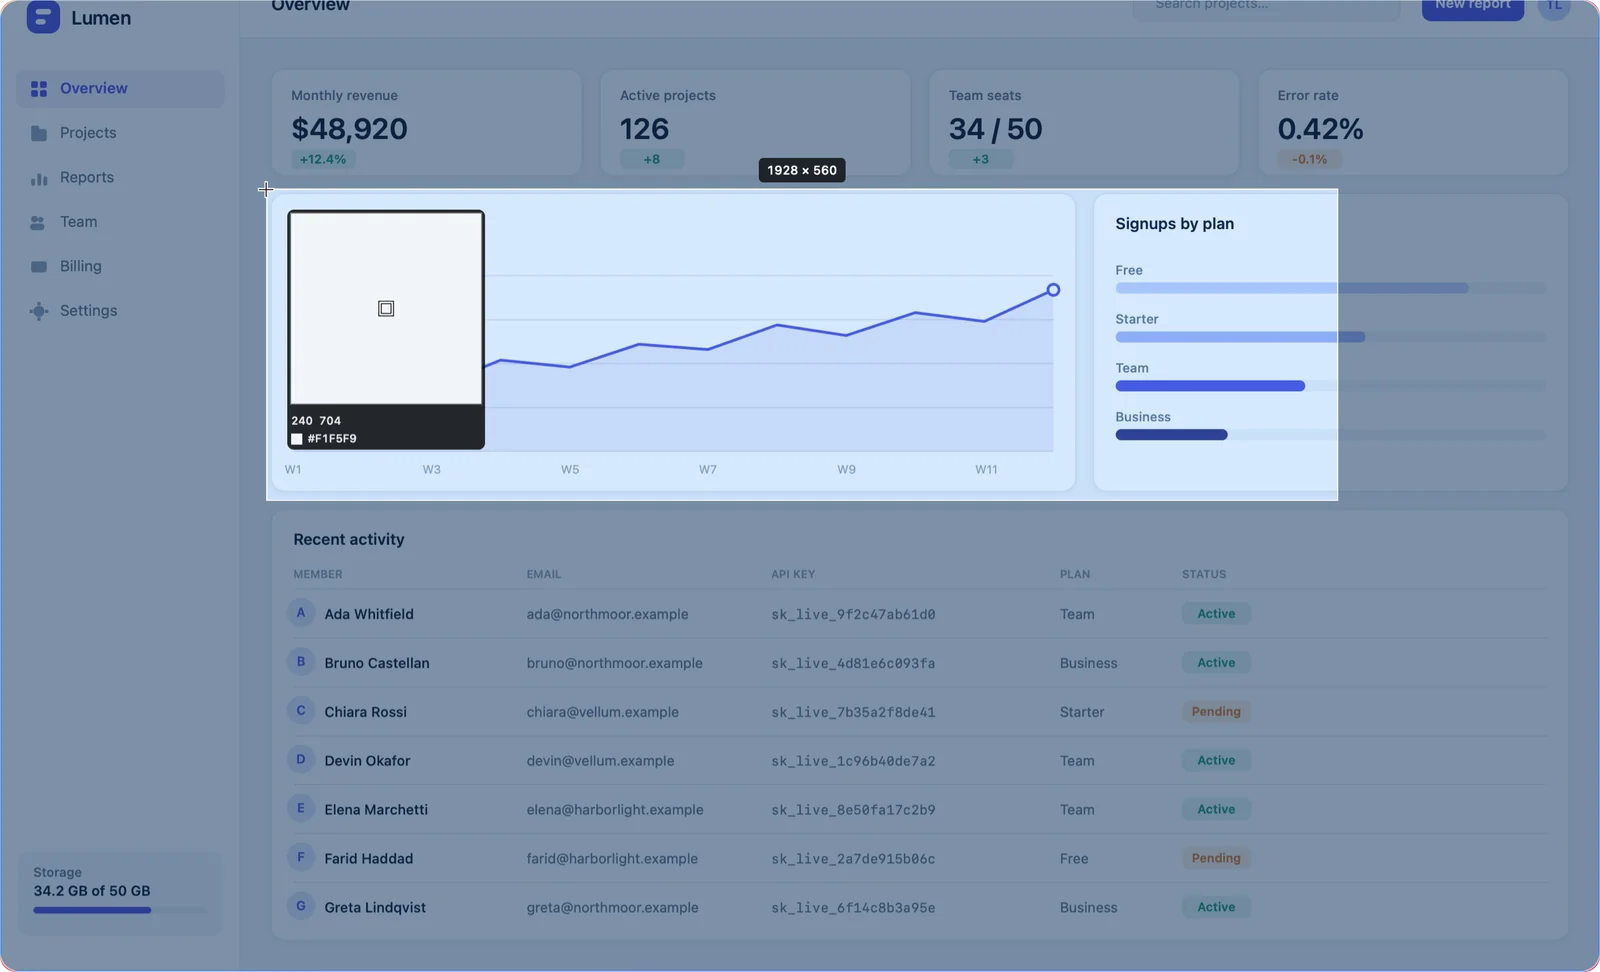
Shotcake has timed capture as a first-class mode with its own global shortcut, so a delayed capture is one keystroke rather than a trip through the toolbar and back. The selection overlay also keeps menus open while you drag, because it does not steal keyboard focus from the app underneath.
Hover states and tooltips
A tooltip usually needs the pointer to stay still, which rules out moving to a toolbar. A timed capture solves it the same way: start the timer, put the pointer where the tooltip appears, and do not move until the shutter fires.
For UI documentation there is a second trick worth knowing: capture the state you can hold, then add the missing emphasis afterwards with a spotlight or a highlighted rectangle instead of trying to freeze an ephemeral state. That is often clearer for the reader anyway — see how to annotate a screenshot.
Repeating the same capture
Documentation and bug reports often need a series of screenshots framed identically. Dragging the same box by hand five times never quite matches. Two modes solve it: fixed-size capture, where you type the dimensions once, and repeat-last-area, which re-uses the exact rectangle from the previous capture.