The three shortcuts worth memorising
macOS ships with three capture shortcuts. They have not changed in years, and they work on every Mac running a current version of macOS.
| Shortcut | What it does |
|---|---|
| ⌘ ⇧ 3 | Captures every display in full and saves a PNG to the Desktop. |
| ⌘ ⇧ 4 | Turns the pointer into a crosshair. Drag a box; release to capture just that area. |
| ⌘ ⇧ 4 then Space | Switches to window mode. The pointer becomes a camera — click any window to capture it, drop shadow included. |
| ⌘ ⇧ 5 | Opens the screenshot toolbar: capture modes, screen recording, a 5- or 10-second timer, and options for where files go. |
| ⌃ + any of the above | Copies the capture to the clipboard instead of saving a file. Handy when you are about to paste it straight into a chat. |
Tricks inside the selection tool
Once you are dragging a box with ⌘ ⇧ 4, a few modifier keys make the selection much less fiddly. Almost nobody knows about them:
- Hold [[Space]] while dragging — moves the whole selection box without resizing it. Use it when you got the size right but started in the wrong place.
- Hold [[⌥]] while dragging — resizes the box from its centre instead of its corner.
- Hold [[⇧]] while dragging — locks one axis so you only change width or only change height.
- Press [[Esc]] — cancels the capture entirely, no file written.
- Hold [[⌥]] while clicking a window (in window mode) — captures the window *without* the big drop shadow, which is usually what you want for documentation.
Capturing a menu, a tooltip or a hover state
This is where the built-in tool gets awkward. Open a menu and press a capture shortcut, and the menu often closes before the capture happens. Two workarounds:
- Open ⌘ ⇧ 5, set the timer to 5 seconds, start the capture, then open your menu and wait for the shutter.
- With a menu already open, ⌘ ⇧ 4 still works in many apps — the menu stays up while you drag. Whether it does depends on how the app draws it.
A dedicated tool makes this a non-issue: Shotcake has a timed capture mode you can bind to its own shortcut, so the delay is one keystroke rather than a trip through a toolbar. See how to capture a window or a menu.
Where the screenshots end up
By default, on the Desktop, named Screenshot 2026-09-02 at 14.31.07.png. You can change the folder from the Options menu of the ⌘ ⇧ 5 toolbar, or from the command line. The full explanation, including how to change the file format, is in where do Mac screenshots go.
Where the built-in tool stops
For grabbing a picture and pasting it somewhere, the built-in tool is genuinely good and you do not need anything else. The gap opens as soon as the screenshot has to be *understood by someone else*:
- There is no way to draw an arrow at the thing you are talking about without opening another app.
- There is no way to blur an email address or an API key before you send it.
- Numbered steps — the backbone of every how-to document — have to be added by hand somewhere else.
- Once you have saved the file, the markup you added in Preview is baked into the pixels. Move an arrow later and you are redoing the whole thing.
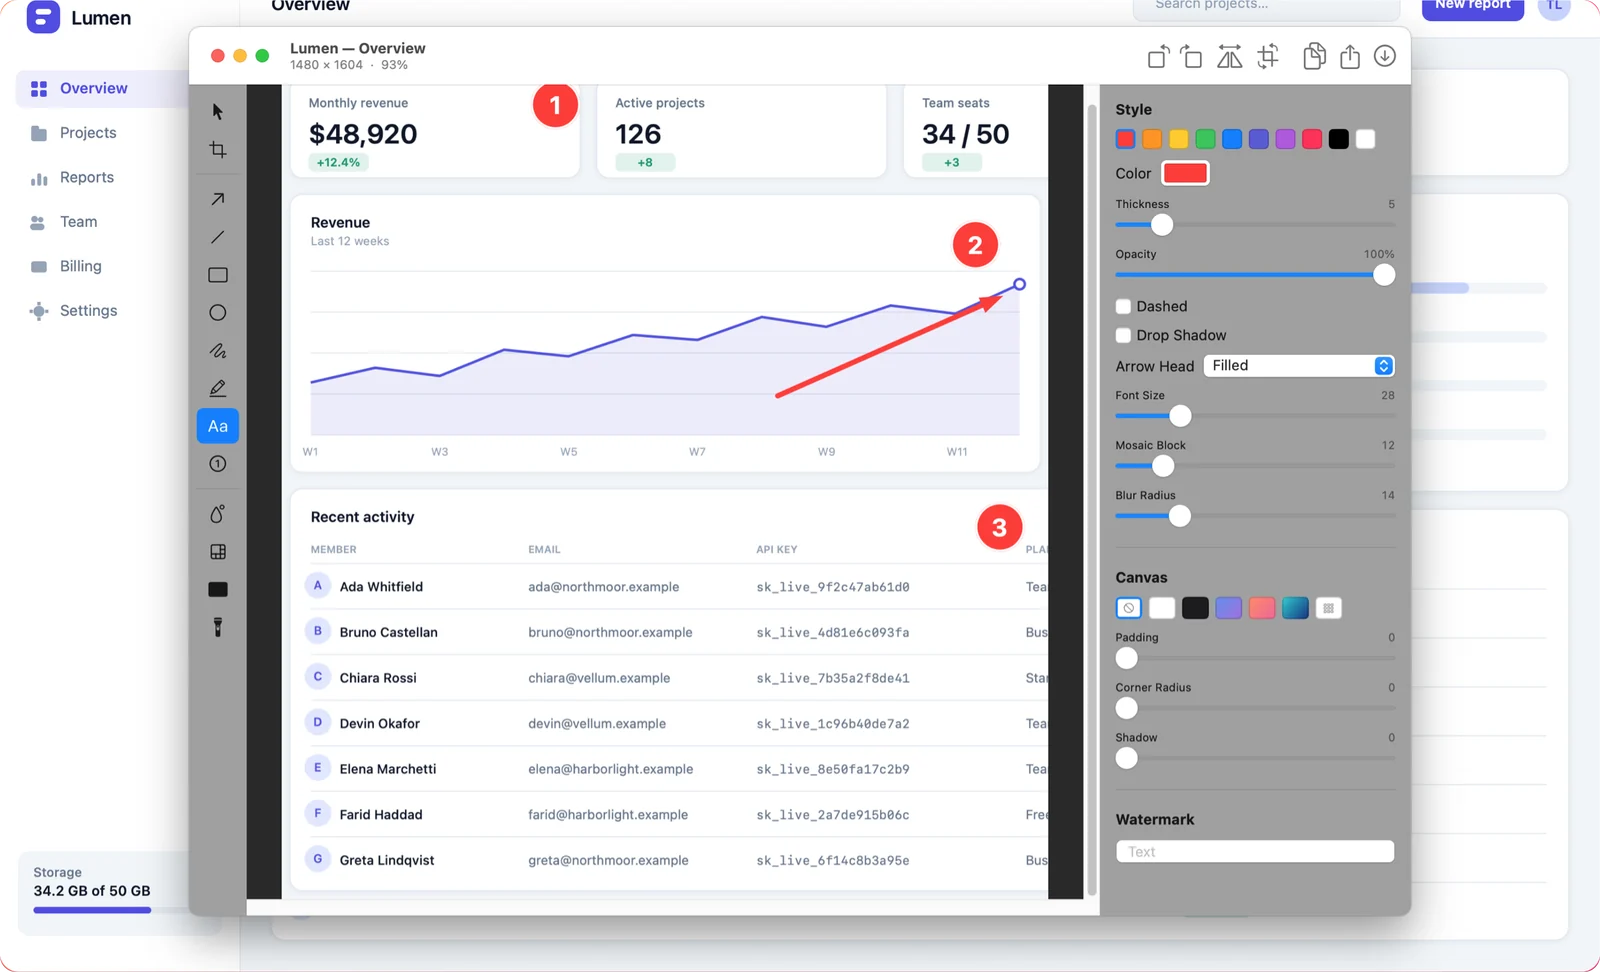
Shotcake is a native macOS app that picks up exactly there: one shortcut captures and opens the editor, annotations stay editable forever, and blur is a drag away. It is a one-time purchase on the Mac App Store — no subscription, no account.